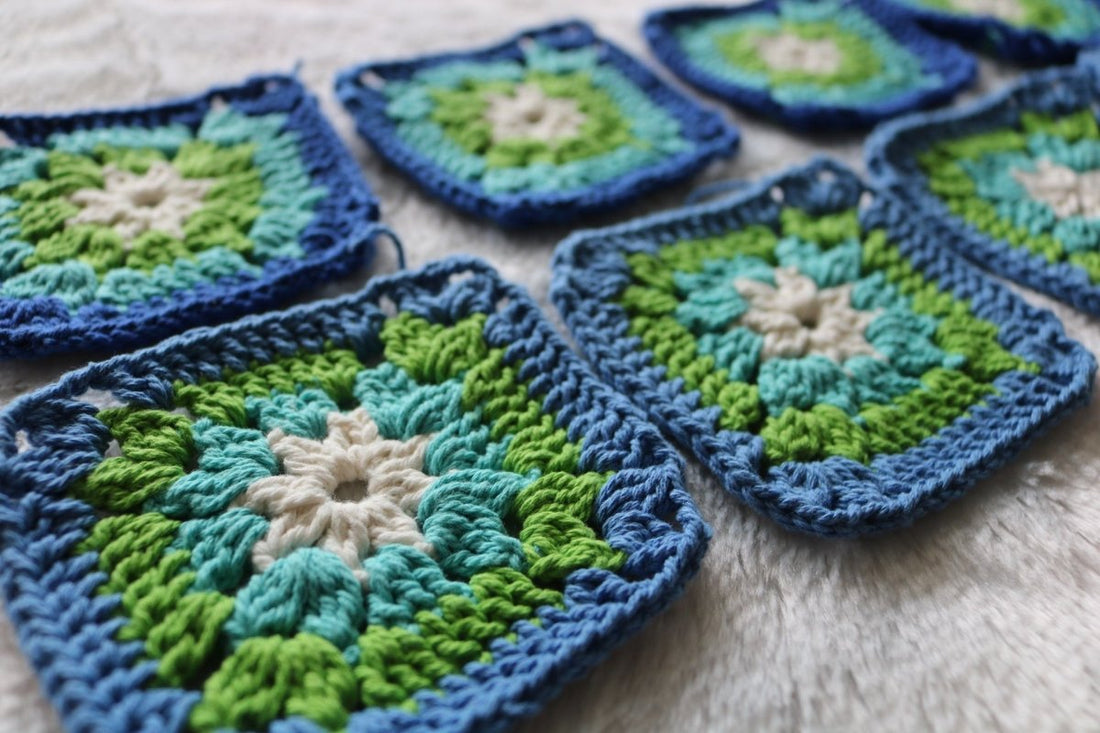
Do you want to learn how to crochet potholders? Crochet pot holders are a great way to decorate your kitchen or give them as gifts. Whether you're a beginner or an experienced crocheter looking for a new challenge, this guide will provide you with all the tips and techniques you need to get started.
First steps
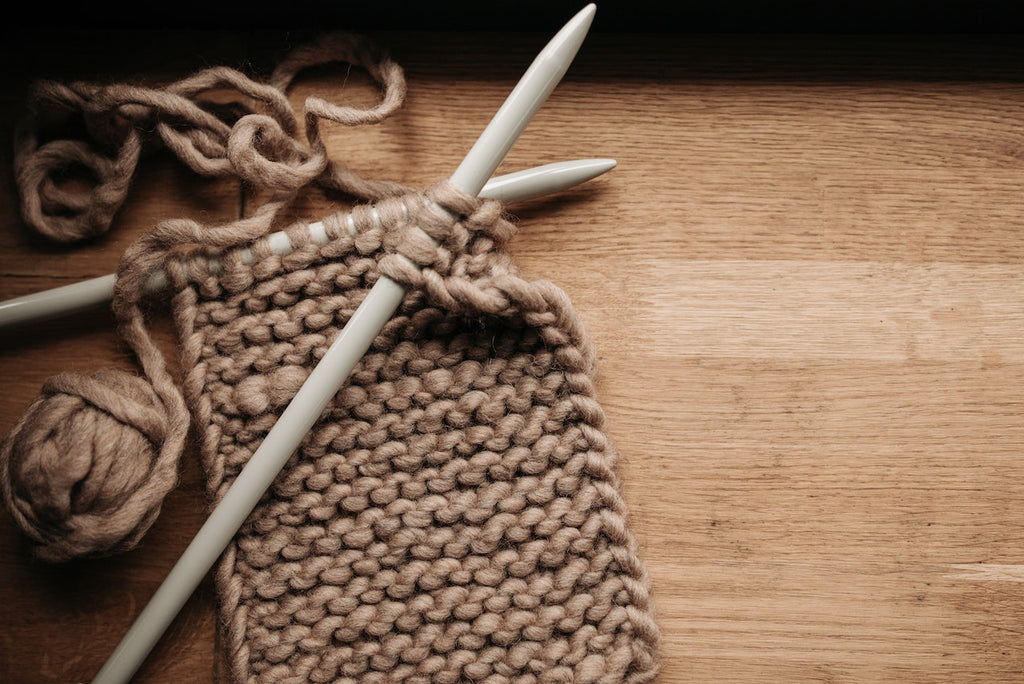
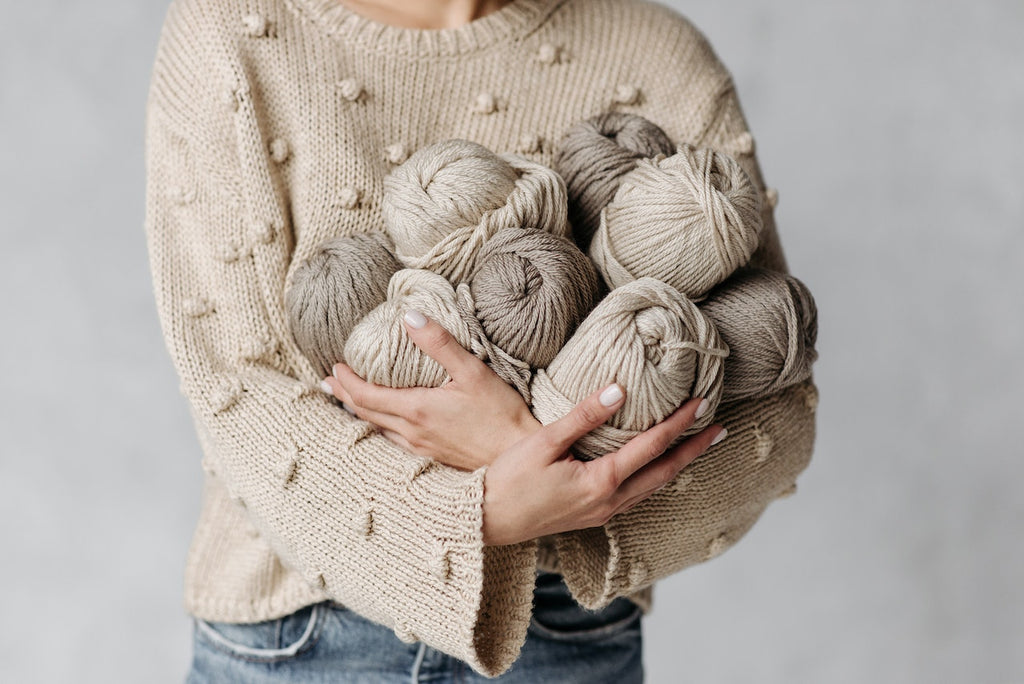
Before you start crocheting , you need to get the materials you need, such as yarn , a crochet hook, and scissors. When choosing the yarn, you should pay attention to the heat resistance of the material. Cotton and acrylic are good choices because they are heat resistant and won't melt if they come in contact with hot objects. You also need to decide what type of hook you want to use. For beginners, a size H (5.0 mm) or I (5.5 mm) crochet hook is recommended.
Basic Crochet Stitches
Once you have your materials ready, it's time to learn some basic crochet stitches. The simplest stitch is the single crochet (sc). To crochet a basic stitch, insert your crochet hook into the stitch, wrap the yarn around and make a loop, wrap the yarn around and pull it through both loops of the crochet hook.
The next stitch is the double crochet stitch (dc). To work a double crochet stitch, yarn over, insert hook into stitch, yarn over and pull up one loop, yarn over and pull through two loops, yarn over and pull through the remaining two loops .
Once you master these two stitches, you can start crocheting your potholder.

Crochet your potholder
To crochet a potholder, you first need to form a chain of stitches. Start with a slip knot and then crochet the desired number of stitches. For a standard sized pot holder, a twenty stitch chain is recommended. Once you have your chain you need to start working in the round.
Begin by crocheting a single stitch into the second stitch from the hook. Work a single stitch into each stitch on the chain. When you reach the end of the row, crochet a stitch into the first stitch to close the row.
Continue working in the round and crochet a single stitch into each stitch. When you reach the end of the row, crochet a stitch into the first stitch to close the row. Continue working in the round until you reach the desired size. Nine inches in diameter is recommended for a standard-sized pot holder.

Completion of the potholder
Once the potholder is the size you want, you need to finish it. Start by crocheting a round of single crochet stitches around the edge of the pot holder. When you reach the end of the row, crochet into the first stitch to close the row.
Next, crochet a round of double stitches around the edge. When you reach the end of the row, crochet into the first stitch to close the row. Finally, crochet a round of single crochets around the edge. When you reach the end of the row, slip into the first stitch to close the row.
Advanced tips
Once you've mastered the basics of crocheting potholders, you can experiment with more advanced techniques . For example, you can add a decorative border by working a round of reverse single stitches around the border. You can also add a loop for hanging the potholder by crocheting a few stitches and attaching it to the edge of the potholder.