Crochet a Scarf: 3 Easy Patterns for Beginners and Beyond
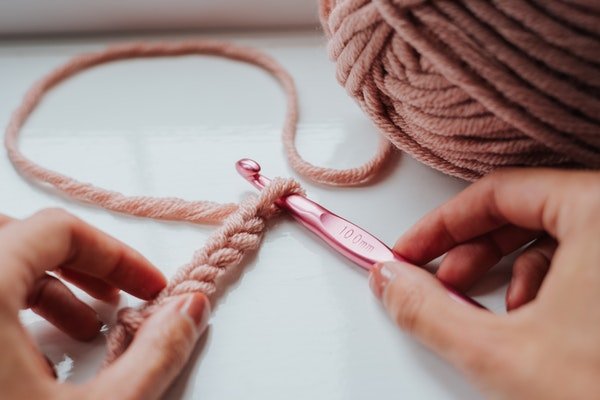
Einen Schal häkeln ist das perfekte Projekt für Anfänger und Fortgeschrittene gleichermaßen — schnelles Erfolgserlebnis, endlose Mustermöglichkeiten und ein Ergebnis, das du sofort tragen kannst. In dieser Anleitung zeigen wir dir drei Schal-Varianten: einen einfachen Anfänger-Schal, einen eleganten Lochmuster-Schal und einen breiten Winterschal. Material Garn: 200–300 g je nach Schalbreite (Lauflänge ca. 200 m/100 g). Perfekt: ein Farbverlaufsgarn von Chiemseegarn in 800 m oder 1000 m — der Farbverlauf ergibt sich beim Häkeln automatisch Nadel: Häkelnadel 4,0–5,0 mm Zubehör: Schere, Wollnadel zum Vernähen Variante 1: Einfacher Anfänger-Schal (feste Maschen) Größe:...
Read more...